
We recently painted our whole house as we are preparing to sale it.
So now I've been a bit hesitant to put a bunch of nail holes in the walls again.
I knew we needed to do something to warm up the rooms, but wanted to keep it lightweight to avoid large holes.
Looking for inspiration I loved simple yet colorful shapes hung in clusters!
This project is easy and cheap. I just gathered up different patterned fabric from my fabric collection.
If you don't have a bunch of fabric just laying around like me... Go to the quilting square section at a sewing store (or Walmart in my case!) they have one square for around $1 or bundles of different types for $5-$7. One of my printed fabrics came from the bandana section at Hobby Lobby! They are only $1 and have lots of solid and print options.
If you don't have a bunch of fabric just laying around like me... Go to the quilting square section at a sewing store (or Walmart in my case!) they have one square for around $1 or bundles of different types for $5-$7. One of my printed fabrics came from the bandana section at Hobby Lobby! They are only $1 and have lots of solid and print options.

My fabric collection has been built by checking the scrap material section. Sometimes I can find the scraps on sale for around 50 cents! Score!
With a little bit of time and a few supplies the wall went from this...

To this...

And yes, she needs new curtains.... That is on my to do list!
I started by finding some thick cardboard to make my circle shapes with. Then gathered up several circle household objects, varying in sizes, and traced them on the cardboard. Cutting them out was a pain...literally! Looking back I should have tried a box cutting knife- yep that probably would have helped.

Before cutting the fabric I decided which one I wanted on each size and then laid the cardboard cut outs on the part of the fabric I wanted included.


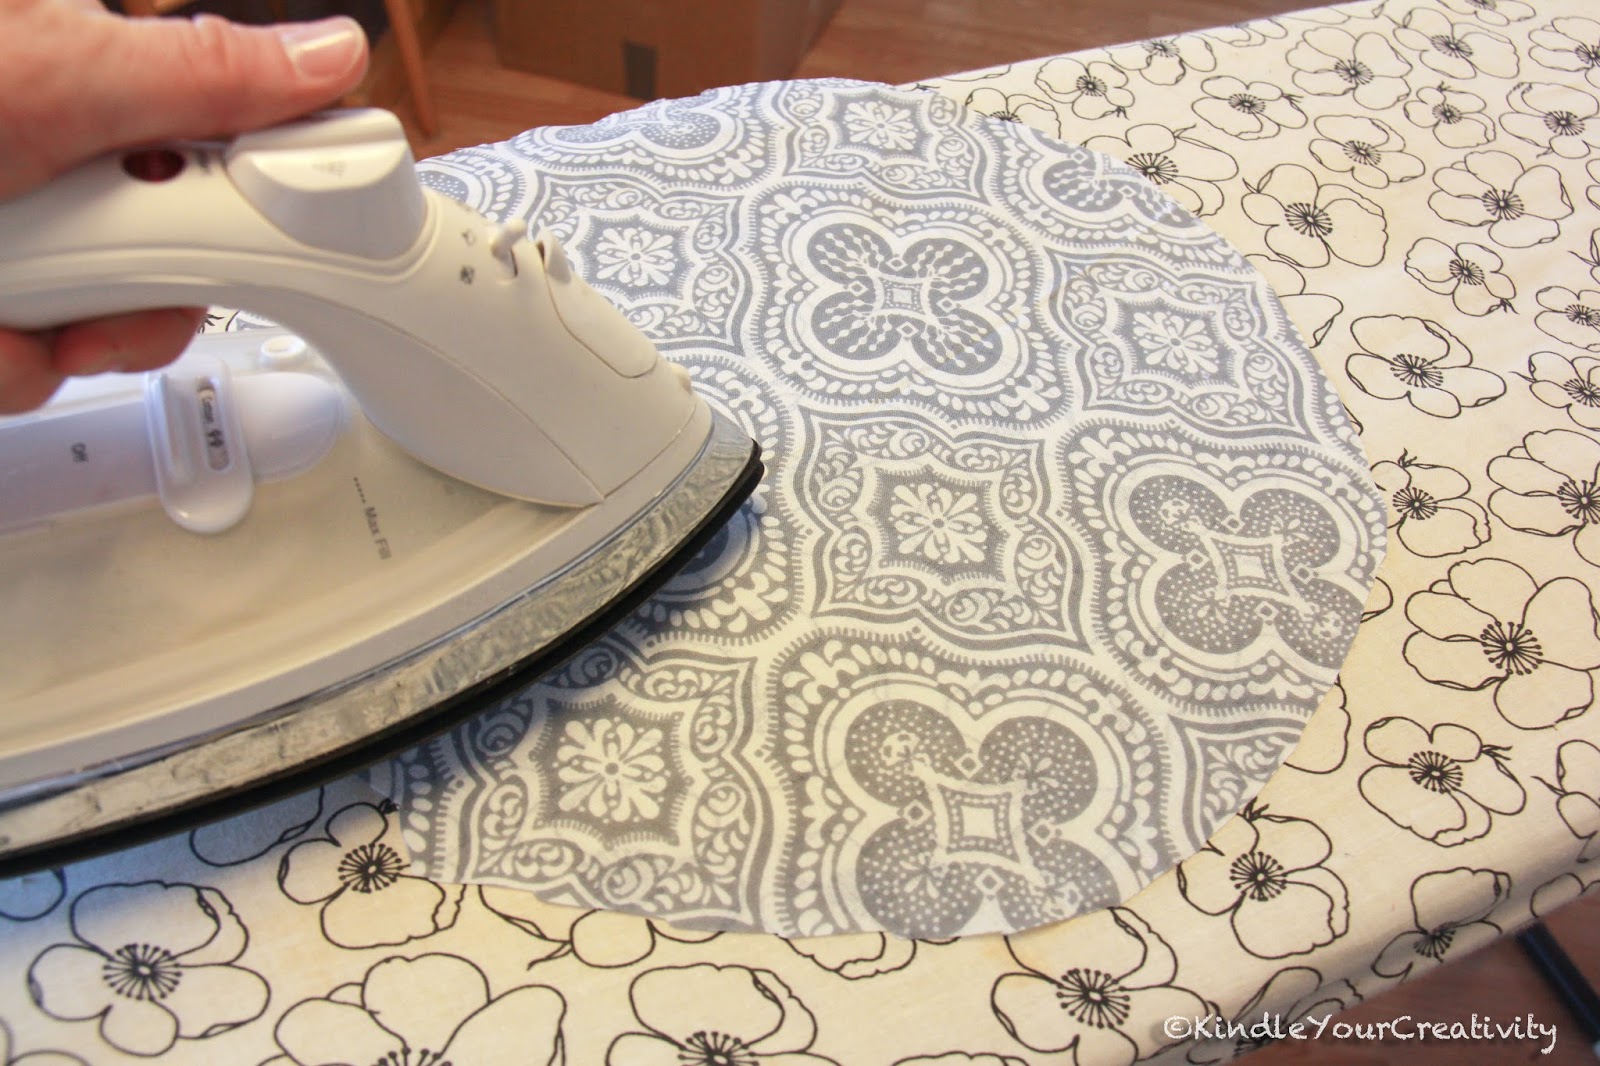
My fabric was really wrinkled from sitting in a box, so I pulled out the iron.
Slowly working my way around the circle cut outs, I used my hot glue gun to glue the fabric to the back of the board.


And I glued the little flaps of excess fabric down to lay flat. I wanted the circles to lay flat against the wall when hung up.
And I glued the little flaps of excess fabric down to lay flat. I wanted the circles to lay flat against the wall when hung up.


Once all my fabric was on I had to figure out how I was going to hang them. Remember my main goal was to make these beauties lightweight for minimum hole punctur-age (yep, I know that isn't a word!) to the wall? So I glued a little twine to the back of each circle. I made it kind of long so that I can work with them for proper position when hanging them.


As easy as that, they were done and ready to find a home in a little girl's room!


Even if you have to buy fabric, this is a frugal and easy way to add fun color to a room!
No comments:
Post a Comment